How to Replace an Old Thermostat: A Complete Homeowner’s Guide
Replacing an old thermostat can significantly improve your home’s energy efficiency, comfort, and even lower your utility bills. Whether you’re switching to a more modern digital thermostat or upgrading to a smart thermostat, the process is straightforward with the right tools and preparation. This guide will walk you through every step of how to replace an old thermostat safely and effectively, so you can enjoy more accurate temperature control and a better indoor environment.
Why Replace an Old Thermostat?
Before diving into the installation process, let’s explore why it’s worth replacing an outdated thermostat.
1. Energy Efficiency
Old mechanical thermostats can be inaccurate and cause your HVAC system to run unnecessarily, leading to wasted energy. A modern programmable or smart thermostat can help optimize energy use based on your schedule and habits.
2. Increased Comfort
Digital thermostats maintain more consistent indoor temperatures, eliminating hot and cold spots throughout your home. This leads to greater comfort during every season.
3. Smart Features
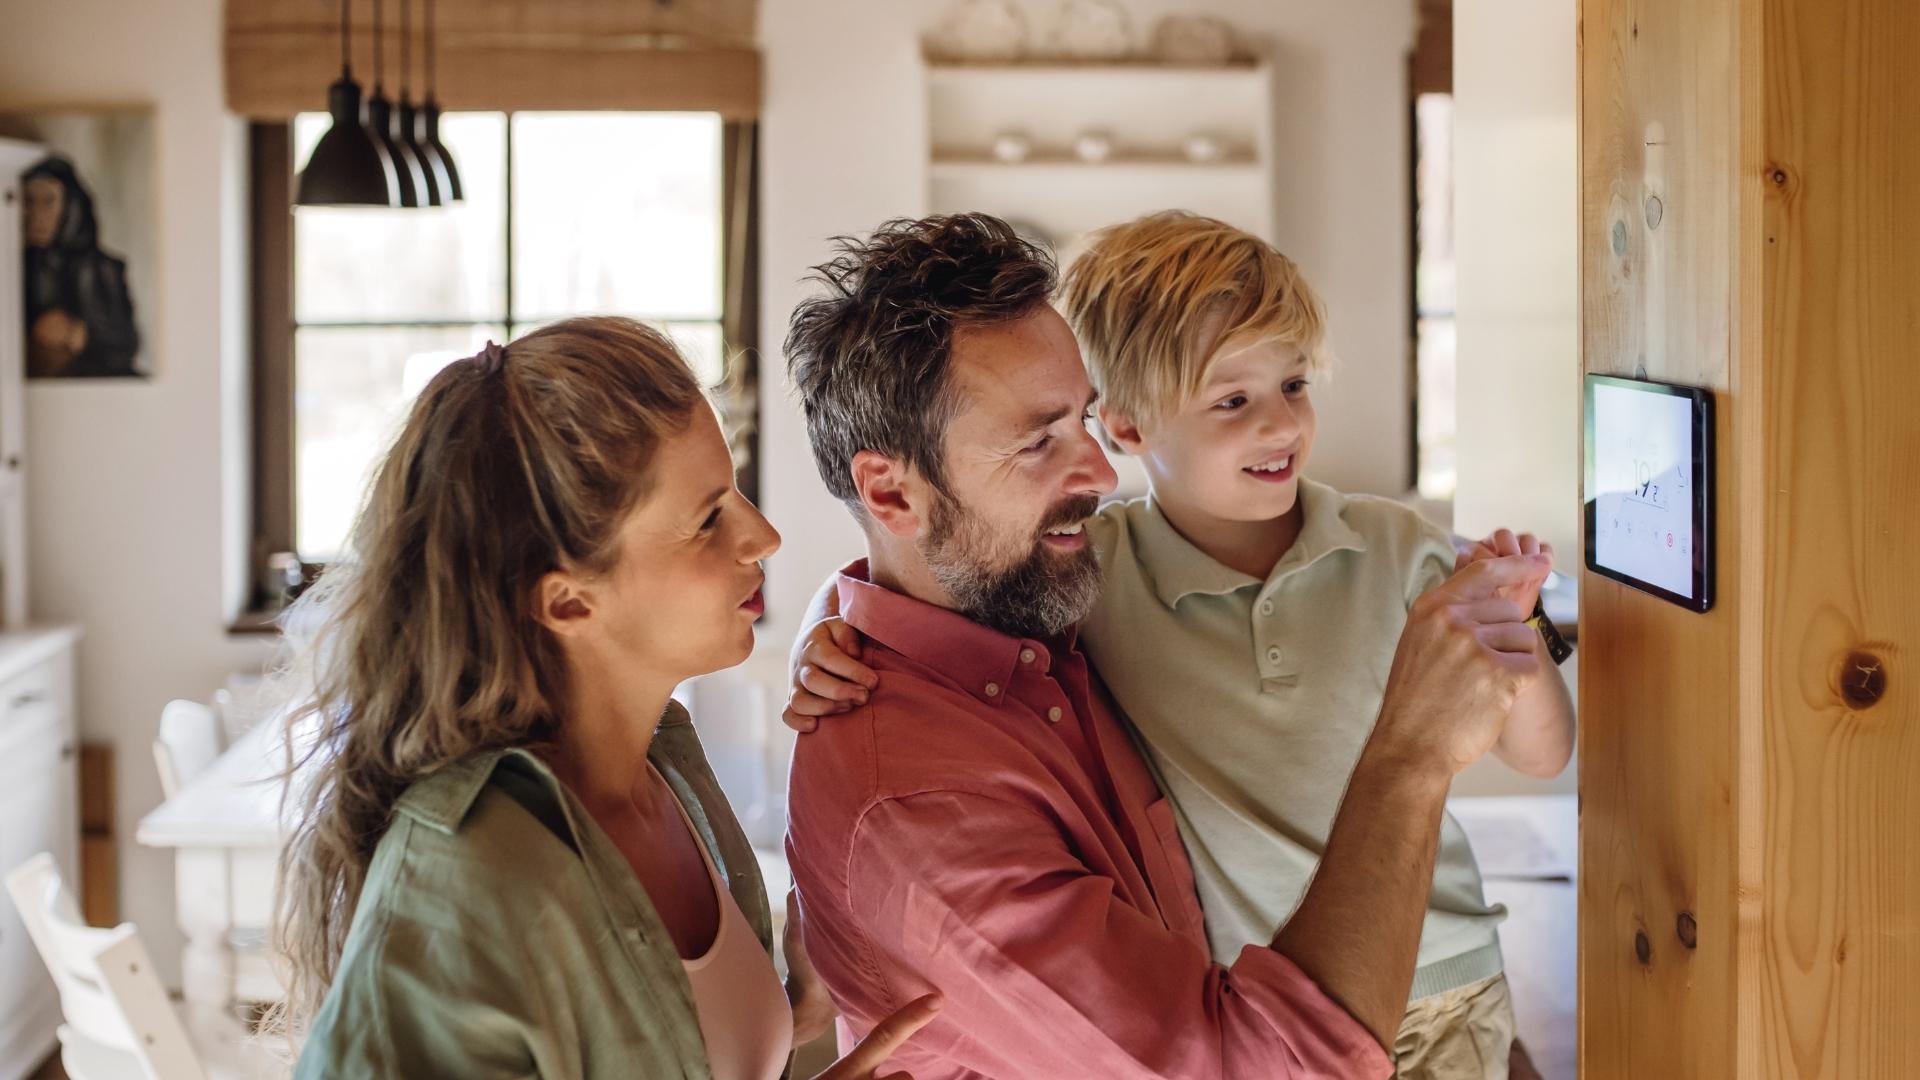
Smart thermostats allow for remote control via smartphone apps, voice commands through smart assistants like Alexa or Google Assistant, and can even learn your routines to adjust automatically.
4. Utility Rebates
Many utility companies offer rebates for upgrading to energy-efficient thermostats, which can help offset the initial cost.
What You’ll Need
Before replacing your old thermostat, gather the following tools and supplies:
- New thermostat (digital or smart)
- Screwdrivers (flathead and Phillips)
- Drill (if necessary for new mounting holes)
- Level (for proper alignment)
- Pencil (for marking holes)
- Wire labels or masking tape
- Smartphone or camera (to take a photo of the wiring)
Step-by-Step Guide: How to Replace an Old Thermostat
Step 1: Turn Off Power to the HVAC System
Go to your home’s circuit breaker and shut off power to the HVAC system. This is a critical safety step to avoid electric shock or damaging your new thermostat.
Step 2: Remove the Old Thermostat Cover
Gently remove the front cover of the existing thermostat. Some models simply pop off, while others may require a screwdriver. Once removed, you’ll see the wiring connected to the base plate.
Step 3: Label the Wires
Before disconnecting any wires, use labels or masking tape to mark them according to the terminal letters (e.g., R, W, Y, G, etc.). This will make installing the new thermostat much easier.
Step 4: Take a Picture
Use your phone or camera to snap a picture of the wiring configuration. This photo serves as a useful backup reference.
Step 5: Disconnect and Remove the Old Thermostat Base
Unscrew the wires from the terminals and gently pull the wires out. Be careful not to let them fall back into the wall. Remove the screws holding the base plate and take off the old thermostat completely.
Step 6: Install the New Thermostat Base
Position the new base on the wall and use a level to ensure it’s straight. Mark the screw holes with a pencil, then drill pilot holes if needed. Secure the base to the wall using the provided screws.
Step 7: Connect the Wires
Attach each labeled wire to its corresponding terminal on the new thermostat. Refer to the photo you took earlier if needed. Ensure each wire is firmly secured before continuing.
Step 8: Attach the Thermostat Display
Once the wiring is complete, snap or screw the thermostat display onto the mounted base, according to the manufacturer’s instructions.
Step 9: Restore Power and Test
Turn the HVAC system’s circuit breaker back on. Power up your new thermostat and follow the on-screen setup instructions. Test the heating and cooling functions to ensure everything works correctly.
Tips for Installing a Smart Thermostat
If you’re installing a smart thermostat, you may need a C-wire (common wire) to provide continuous power. Some homes don’t have this wire pre-installed, but many smart thermostats now come with a power extender kit or alternative wiring methods.
During setup, connect the thermostat to your home Wi-Fi network. Most smart thermostats have mobile apps that allow you to customize settings, create schedules, and monitor energy usage remotely.
When to Call a Professional
If you encounter any of the following issues, it may be best to call a licensed HVAC technician:
- Your system lacks a C-wire and you’re unsure how to proceed
- The thermostat wiring doesn’t match standard configurations
- You notice frayed wires or poor installation quality from the old unit
- The new thermostat doesn’t power on after installation
Conclusion
Learning how to replace an old thermostat can be a satisfying DIY project that improves your home’s comfort and efficiency. With modern thermostat features like programmable schedules, energy usage tracking, and remote control, the upgrade is well worth the effort. Just be sure to follow the steps carefully, label your wires, and use caution during installation.
Whether you’re aiming for better energy savings or simply want more control over your indoor environment, updating your thermostat is a great step toward a smarter, more efficient home.